If you are reading this article, you have probably encountered the situation when you tried to scan an object and seemed to do everything correctly, but a high-quality and accurate model did not turn out. Why is it so?
Perhaps you missed some details, which, insignificant at the first glance, can have a strong impact on the final result. Here are some tips that might help you get an accurate 3D-model:
Tip #1: Fill in the frame with as much data as possible
To put it simply, a 3D scanner captures an object frame by frame (just like a video camera, but in 3D). Each frame contains data in the form of dots placed in the xyz coordinate system. The more data each frame contains, the easier it will be to merge the scans later (and the more accurate the result will be). If there is not enough data in the frame it makes tracking and subsequent post-processing difficult.
When scanning objects with rich geometry, little problem might occur, but not all objects are perfect. Let’s say you need to digitize a canister. Most of its surfaces are flat, which can cause a problem during scanning (the scanner might lose tracking, or not enough data will be captured which will result in a poor-quality model). To fill in the frame with “helpful” data, keep some notable feature (the handle, the neck) or one of the canister’s conners in the scanner's field of view, thus creating reference points for the scanner. When scanning, try to keep several surfaces in scanner’s field of view and you will never lose tracking.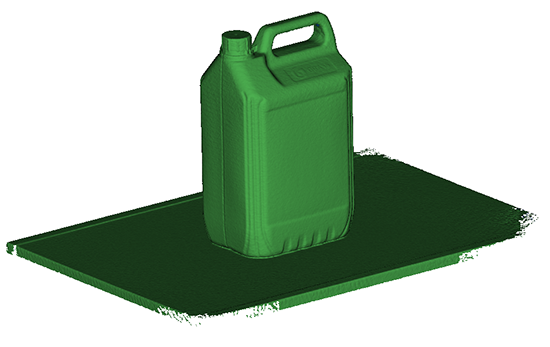
If you scan a thin and tall object, it is better to lay it on the side and scan it with additional geometry. If the object cannot be dismounted, place other objects next to it. When scanning, check with the built-in touchscreen preview. A green color indicates that you are at the optimum distance from the object. Blue means that you are far away and some data might be lost – better move closer. On the contrary, the red color tells that you are too close to the object and again, some important data might be lost. Better stay in the green zone.
Tip #2: Make sure you collect an adequate amount of data per scan
Most of the beginners tend to scan very fast, thus missing important data. Choose a calm, smooth, measured pace. Data acquisition speed can vary depending on the scanning mode and the power of your computer. Watch for FPS (Frames Per Second), that can range from 10 to 35 frames per second in Calibry scanners. The higher the FPS, the faster you can move when scanning. On the scanner’s screen FPS number is located in the top left corner and the frame counter can be found in the top center.
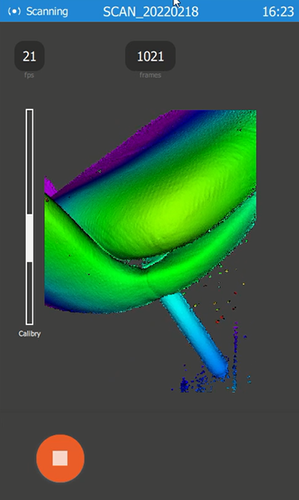
The proper scanning pace will come with practice. Properly collected point cloud should be dense and even.
Tip #3. Avoid a “frozen hand”
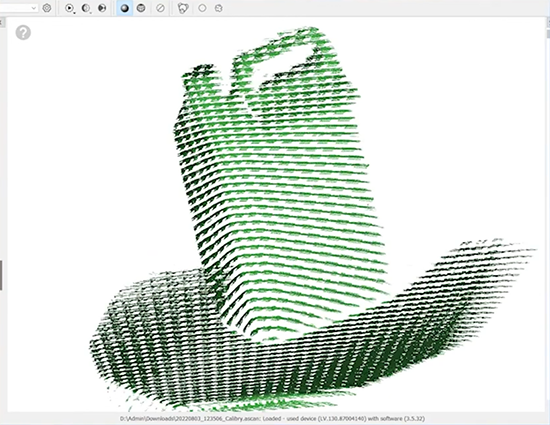
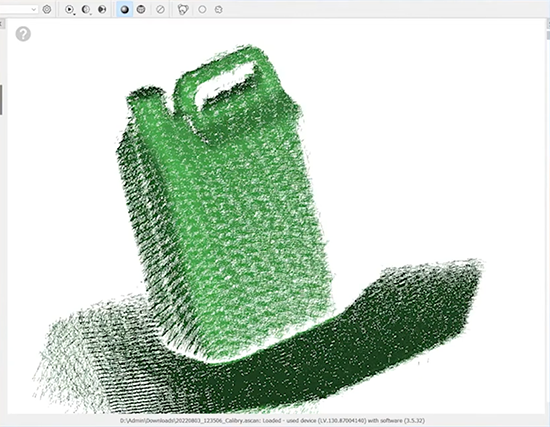
Unless you are scanning with a tripod and a turntable, try constantly change the tilt and position of the device, thereby making the data more diverse and the point cloud more uniformly dense. This simple lifehack will dramatically improve the quality of your point cloud. If you hold the scanner in one position, it will capture the same data over and over again. This increases the size of the scan, giving no new information.
Here are how a few frames look like when the scanner is in a constant position:
The same number of frames, but the scanner was rotated:
Tip #4. Make overlaps when scanning from multiple sides
If you plan to scan an object from several sides and merge the acquired data into a single model, make sure the adjacent scans have a good overlap (about 20%), i.e. two neighboring scans should contain enough common elements (corners, bumps, or other features of the object's geometry). This will allow you to orient the scans correctly with respect to each other and merge them seamlessly.
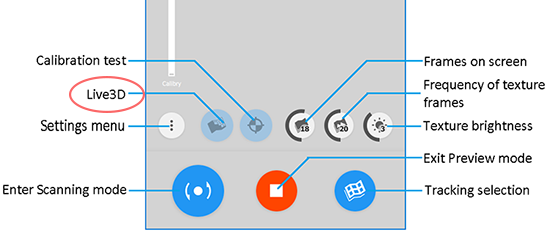
Tip #5. Turn on Live3D Mode
Live3D creates a temporary preliminary 3D-model of the object, which allows you to evaluate the quality of the scan and pay more attention to problematic areas. It also helps to save time on post-processing. Before scanning, make sure that this mode is activated.
Tip #6. Use additional geometry or markers, especially when scanning objects with no pronounced geometry
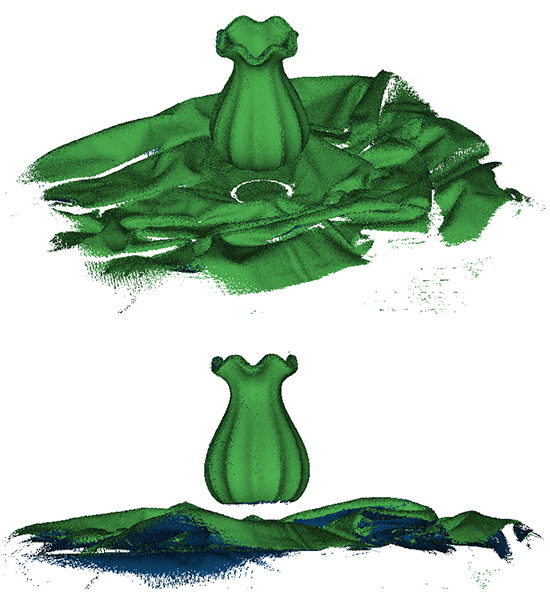
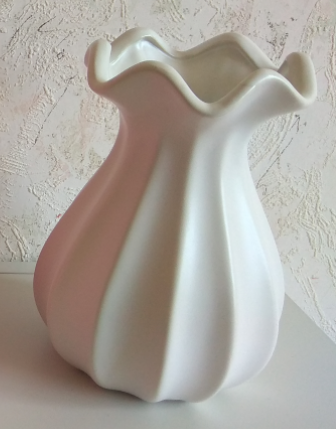
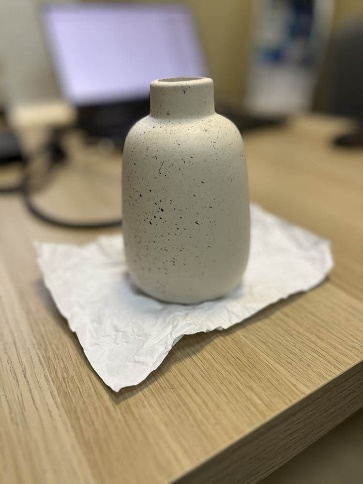
Most of the objects you need to scan have little or no geometry at all (bottles, dishes or vases, and industrial objects: rotors, propellers, gears, etc.). Moreover, some may be perfectly symmetrical. For example, a pipe has almost no notable features, which will cause difficulty during frame stitching. The first vase is perfectly symmetrical, while the second one has almost no geometry at all – kind of hard to assemble the frames together into one scan, when all of them are identical. What can be done in this case?
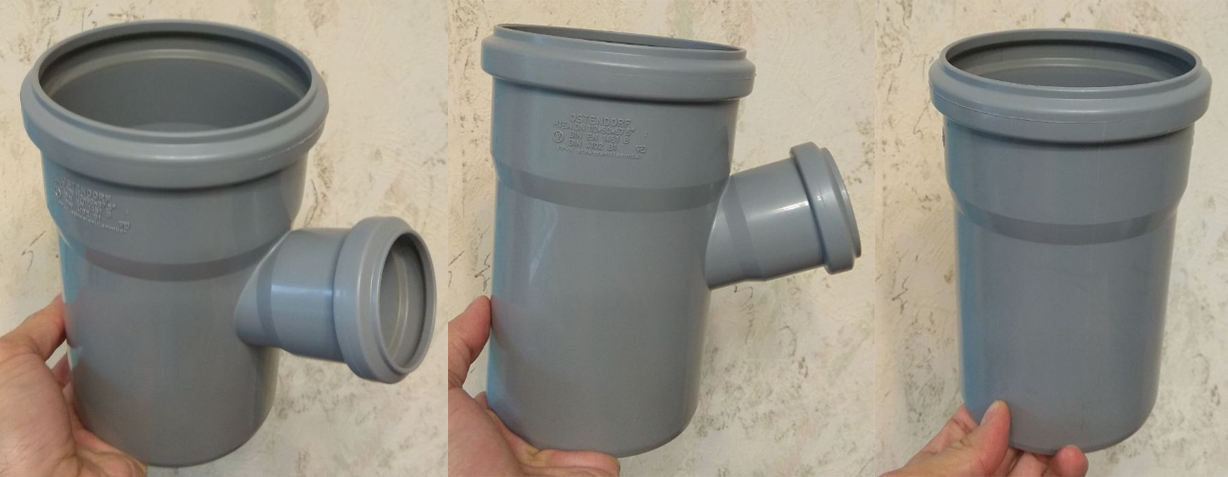
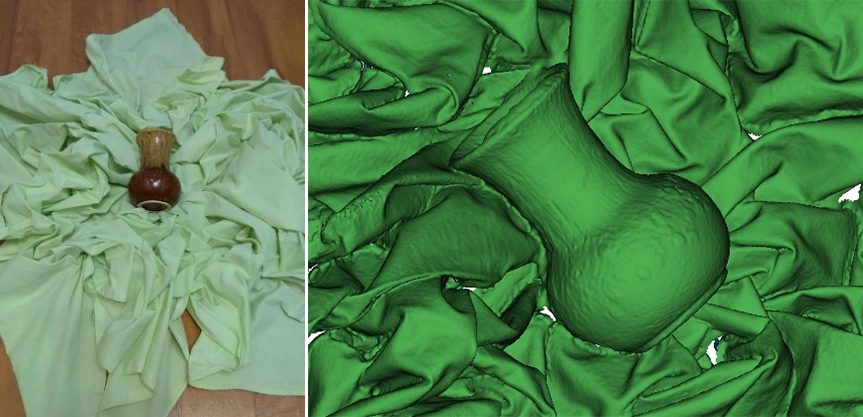
However, when scanning with additional geometry, it can get difficult to separate the model from the geometry during editing.

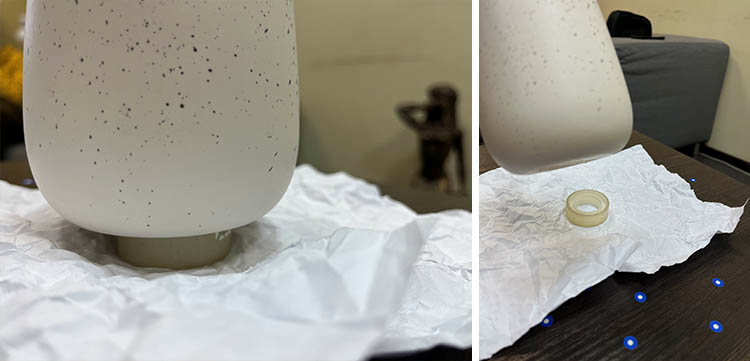
Additional advice: when scanning perfectly symmetrical objects (like vases, propellers), it may be difficult to merge the individual scans into a final model since they contain too similar and repetitive elements. If the object doesn’t have natural manufacturing defects, add reference points yourself (stickers, plasticine). This will help you orient the scans correctly when assembling the model in Calibry Nest.
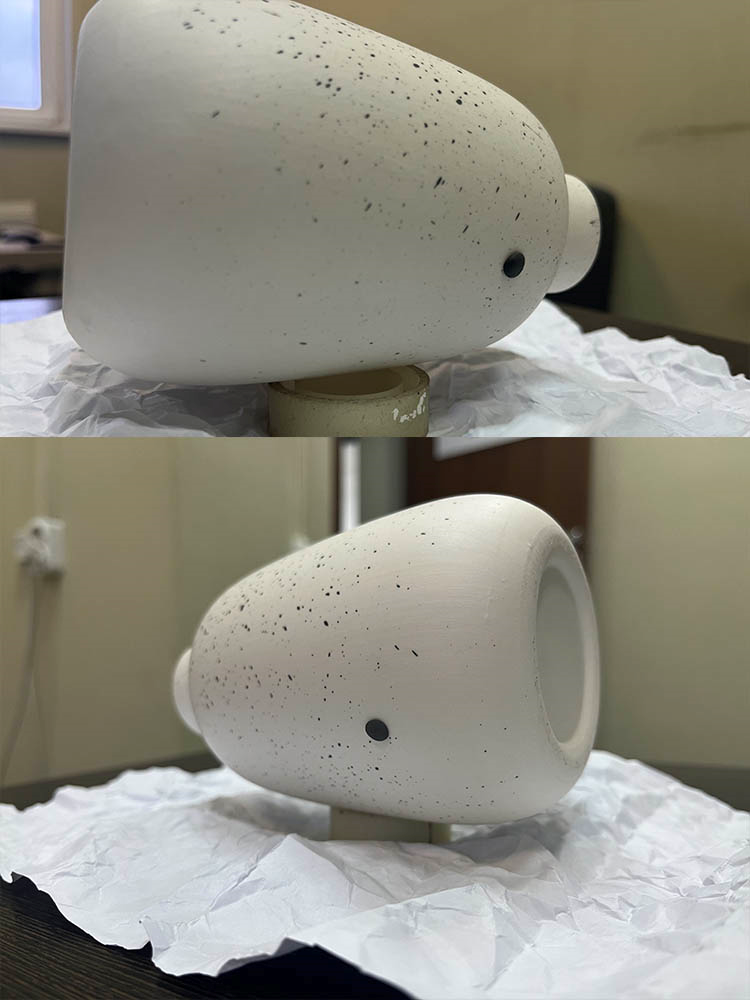
Also, when scanning objects without pronounced geometry, you can use special markers for 3D scanner instead of additional geometry.
Tip #7. Dim the light if you need to digitize the shape only
If you don’t need a textured scan and need only to capture the geometry of an object, minimize the amount of ambient light in order to improve the quality of a scan. Never scan in the sun. If the subject is outside, wait until evening or cloudy weather, or use a visor.
Tip #8. Don’t forget about brightness settings. They can help
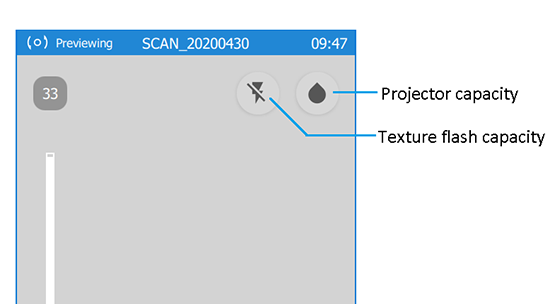
Sometimes it is difficult or impossible to control light intensity. You might be scanning in a public place or outdoors. In addition, the object might be too dark and absorb the light from the grid. Increase the brightness of the projector by switching the scanner to "dark object" mode:
