When faced with the need to digitize a middle- or a large-sized object, flat or having a repetitive geometry, in a regular scanning mode one can encounter the problem of loss of tracking or strong coordinate deviation in the 3D model. Due to the lack of geometric reference points on the surface, the scanner can not correctly record the sequence of frames. A simple and reliable solution to this problem is using the markers that come with the 3D scanner, and using the Markers Mode On mode in the scanner software.
![]()
![]()
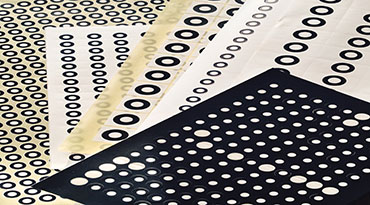
Contrast markers applied to the surface of the object will provide continuous scanning and minimal loss of accuracy. For the most effective work with markers it is necessary to adhere to several simple rules:
- Before starting the scanning process, attach the markers on the surface of the object, not placing them on corners or other areas of changing geometry. Remember that the scanner can not recognize the marker located at an uncomfortable angle.
- Placing a larger number of markers on the edges of the object will help to correctly and smoothly move from one side of the object to another.
- The scanner software shows how many markers are in its field of view in real-time. During the entire scanning, the scanner must recognize at least 3 markers (optimally - 5) in each frame. If the quantity of recognized markers is less than three, the scan automatically stops.
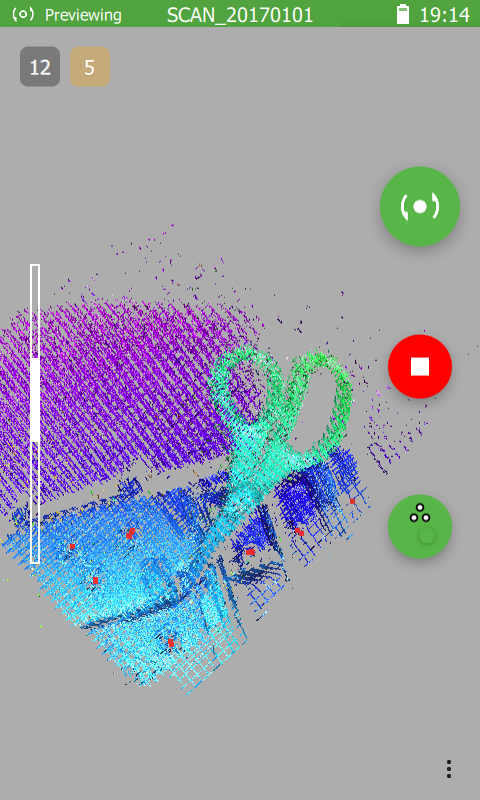
- If you are not sure that you have placed enough markers, go to Preview mode and walk along the object from different sides. So you may check how many markers the scanner recognizes, and if somewhere this value is less than three, then you know where and how many markers you need to add.
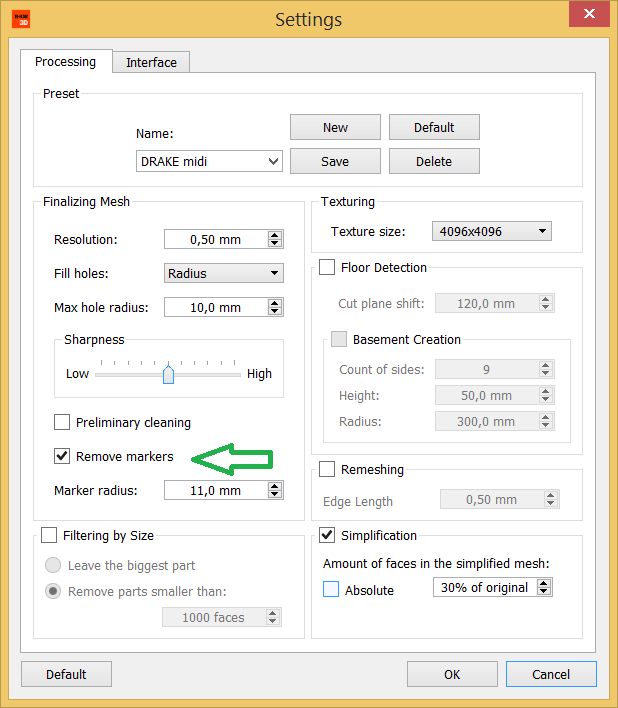
- To automatically remove the traces of markers on 3D models in Thor3D Suite desktop software, use the function "Remove Markers" with a default radius of markers for each scanner lens used. If markers were printed on paper, specify the radius corresponding to the size of the piece of paper.
Wish you a successful work!