We are frequently asked by orthopedic manufacturers how to scan a human body properly. Are there any special dos and don’ts we would recommend? Well, scanning a human doesn’t differ much from scanning a sculpture, but there are best practices to follow.
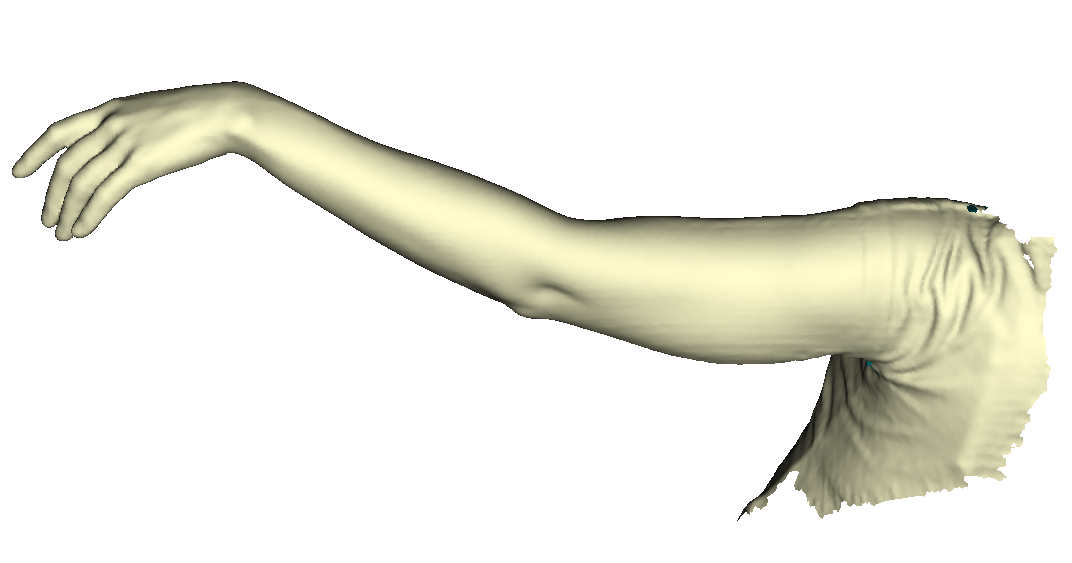
1. It is important to remember that during scanning, a person should remain absolutely still for about a minute. This stationary position is crucial for accurate results. If motion occurs during scanning (let’s say, if the patient shakes his hand), the software will have difficulty aligning all surfaces into a final model, because the shape changed during capture. Since it is hard for a person to stand still for a long time, we advise scanning a person in one go (instead of several scans which later can be aligned into a single model).
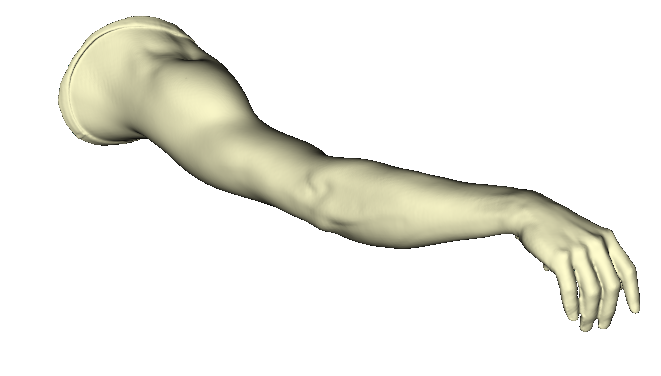
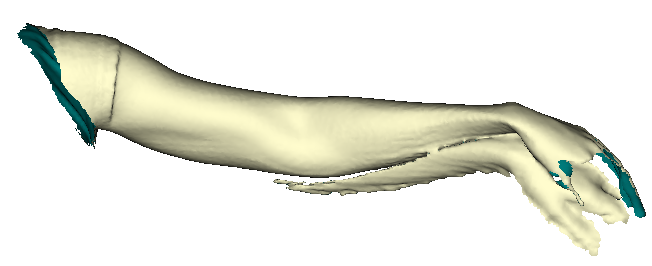 Image 1.1. A scan of a hand that wasn’t fixed.
2. Therefore, before starting, you have to identify the body part that needs scanning in order to fix it in place. Remember to leave enough space around the object. Why is it important you may ask? Each lens has its own field of view and optimal stand-off distance (more information on technical characteristics here) and you need to remain at even distance from the object when you move around it while scanning.
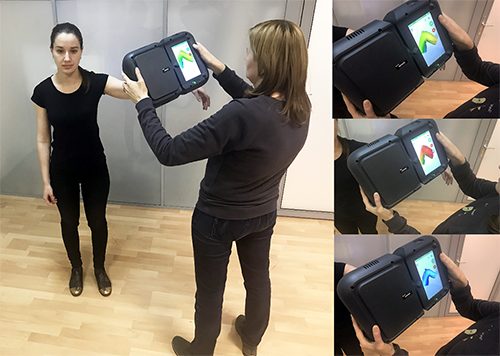
3. The scanner should move around the object smoothly to ensure optimal result. If you move with the scanner too fast, it won’t capture enough frames and the final scan might have “holes” and “stitches”. In some cases a turntable might help (when you scan the whole person or a torso), but for smaller parts of the body ensure proper fixation and don’t forget step 1 and step 2! Mind that the patient’s limbs should be in a relaxed state.
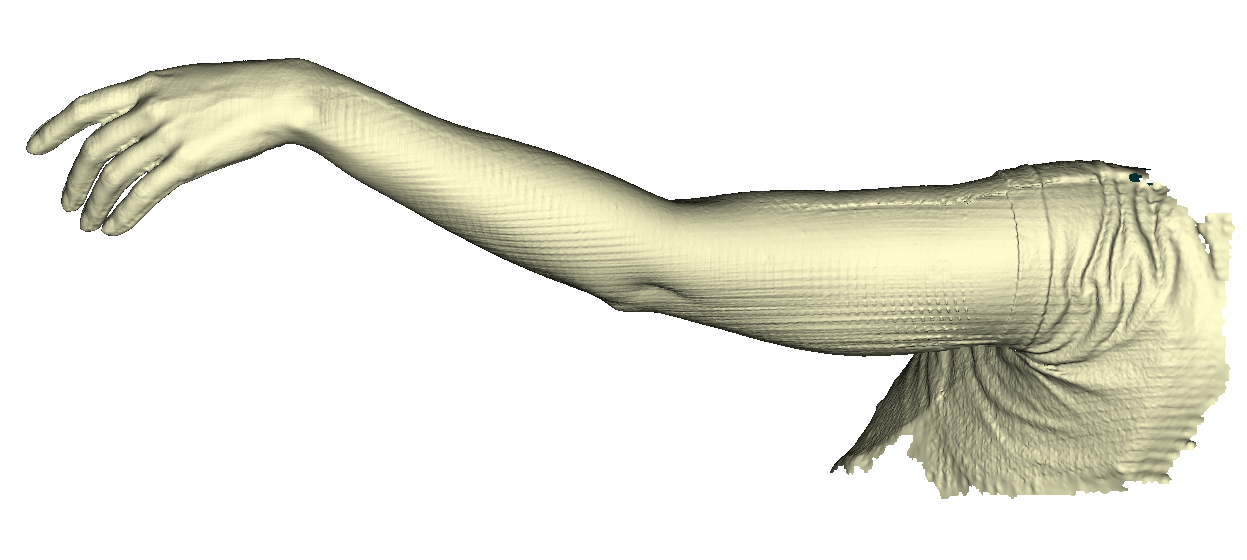
The “stitches” appear when you use the recommended settings for Drake Midi (resolution 0,5 -0,8 mm). If you increase the resolution (2 mm), the surface of the hand will become smoother, but the detailed texture will be lost.
4. In most cases for human body scans we recommend using Midi or Maxi lenses. When precision is crucial (for example, you need to capture the slightest wrinkles for face-prosthetics), Mini is used.
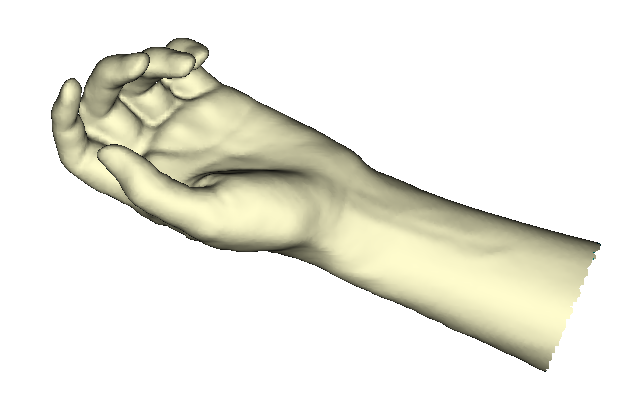
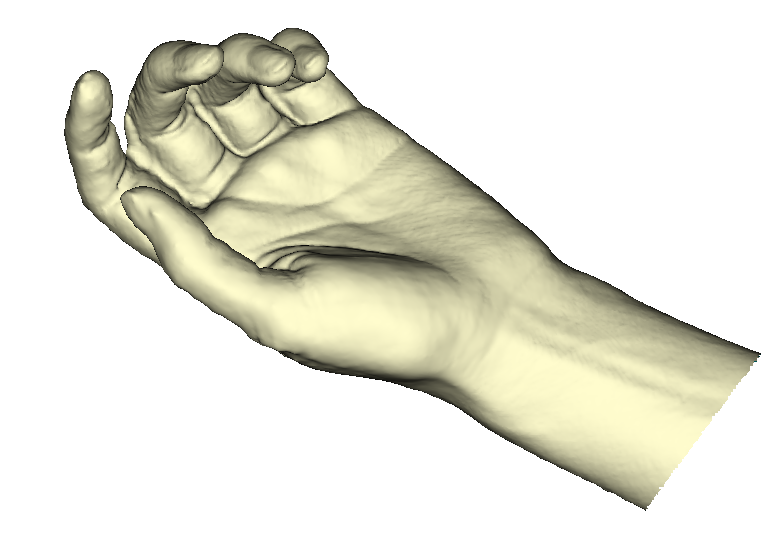 Image 4.1. A scan done by Midi lens. Resolution 0,5 mm
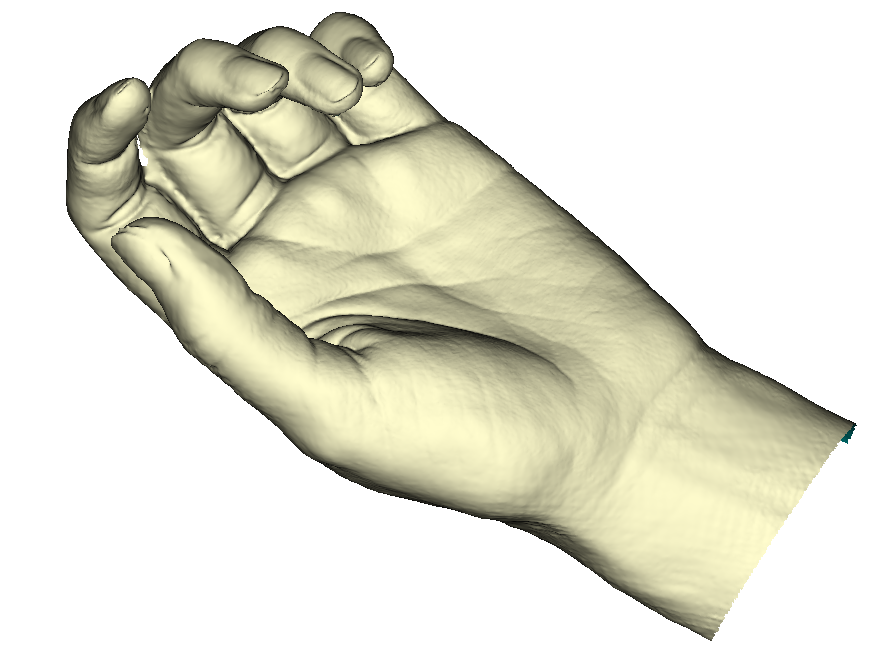 Image 4.2. A scan done by Mini lens. Resolution 0,2 mm
You can also combine the lenses: capture the general view by Midi and get more details with Mini. Then, use Thor software to align the two scans together. Remember that overlapping surfaces should have enough data to align.
5. When scanning residual limbs for prosthetics, the same rules apply: fix the patient in place, but make sure she/he is in a relaxed state. Since the object is either medium or large, use the Maxi or Midi lens.
